

Are you faced with a meatal vision and you don’t know how to withdraw it? Do not panic, we will present several techniques and tricks to remove a damaged screw with ease. In this article, discover effective methods to overcome these recalcitrant screws and thus facilitate your DIY work.
Use a screw extractor to remove a damaged screw
The first technique consists in using a screw extractor, also called a round-to-left. This tool is specially designed to remove the damaged screws without effort. It consists of a steel rod soaked with a reverse thread. To use it, just pierce a hole in the head of the screw with an adapted wick, then insert the extractor into this hole and turn it in the anti-clockwise direction. The screw will then gradually unscrew until you be completely removed.
Choose the right screw extractor
To choose the right extractor, take into account the size and diameter of the screw to be removed. There are several extractor sizes available on the market. Also make sure that the tool is compatible with your drill or electric screwdriver.
The advantages of the screw extractor

The use of a screw extractor has several advantages. First of all, this tool is very effective in removing damaged screws without further damaging the surface around. In addition, it is easy to use and does not require specific DIY skills. Finally, the screw extractor is a versatile tool that can be used to remove different types of screws, whether in steel, brass or aluminum.
Use a multi -pour or a keypad to unscrew a messed up
If you do not have a screw extractor, you can also use a multi -ad pincer or a wheel key to unscrew a damaged screw. To do this, firmly grasp the head of the screw with the pliers or the key and turn it in the anti-clockwise direction. This method can be effective for screws whose head is still accessible and wide enough to be gripped by the tool.
The precautions to be taken when using a pliers or a key
Be sure to adjust the size of the pliers or the key to the head of the screw to avoid any slip which could damage the screw more. Likewise, be careful not to apply too much force not to break the screw or damage the support on which it is fixed.
The limits of this method
The major drawback of this technique is that it is not suitable for screws whose head is too damaged or too small to be seized by the pliers or the key. In this case, it will be necessary to opt for another method, such as the use of a screw extractor.
Use adhesive tape or elastic to remove meat vision
Another tip for removing a damaged screw is to use adhesive tape or elastic. Place the ribbon or elastic on the head of the screw and press firmly with a flat or cruciform screwdriver. The flexible material will marry the shape of the head of the screw, allowing the screwdriver to have a better grip and unscrew the screw without difficulty.
The advantages of this method
This technique is simple and requires no particular tool, if not a suitable screwdriver. In addition, it can be used to remove screws whose head is slightly damaged but still wide enough to accommodate the screwdriver.
The limits of this trick
The use of the adhesive tape or an elastic can prove to be less effective on the screws whose head is very damaged and where the screwdriver has no take. In this case, it will be necessary to use another method, such as the screw extractor.
Call on a professional to withdraw a messed up
If despite all these techniques, you cannot withdraw the damaged screw, it may be wise to call on a professional. A locksmith or a DIY expert can intervene quickly to unscrew the meal vision and thus avoid additional damage to your equipment or installations.
Conclusion
In conclusion, dealing with a damaged or stuck screw is a common challenge in DIY projects, but it does not have to bring your work to a halt. With the right techniques and tools, even the most stubborn screws can be removed effectively and without unnecessary frustration. The key lies in patience, preparation, and selecting the method that best suits the situation. From using rubber bands for extra grip to specialized extractors or even drilling when necessary, there are multiple approaches to ensure success.
What is important to remember is that each method has its own advantages depending on the type and degree of damage. For lightly stripped screws, simple tricks such as applying extra grip or using alternative screwdriver heads may be enough. For more severe cases, professional tools like screw extractors or power drills provide reliable solutions. By experimenting with these techniques, DIY enthusiasts can find the approach that saves time and prevents additional damage to materials.
Beyond the practical solutions, removing a damaged screw also highlights an important lesson in DIY work: preparation matters. Using the correct screwdriver size, applying steady pressure, and maintaining your tools in good condition are preventive measures that reduce the risk of damaging screws in the first place. This not only simplifies future projects but also preserves the quality of your equipment and materials.
Ultimately, the frustration of a damaged screw can be transformed into an opportunity to improve problem-solving skills and gain confidence in handling unexpected challenges. By applying the techniques presented, you can approach DIY tasks with greater assurance, knowing that even stubborn obstacles can be managed with ease. A damaged screw is no longer a setback — it becomes a chance to demonstrate creativity, resourcefulness, and persistence.
Latest Posts Published

The assets of the ironwork style for your gate
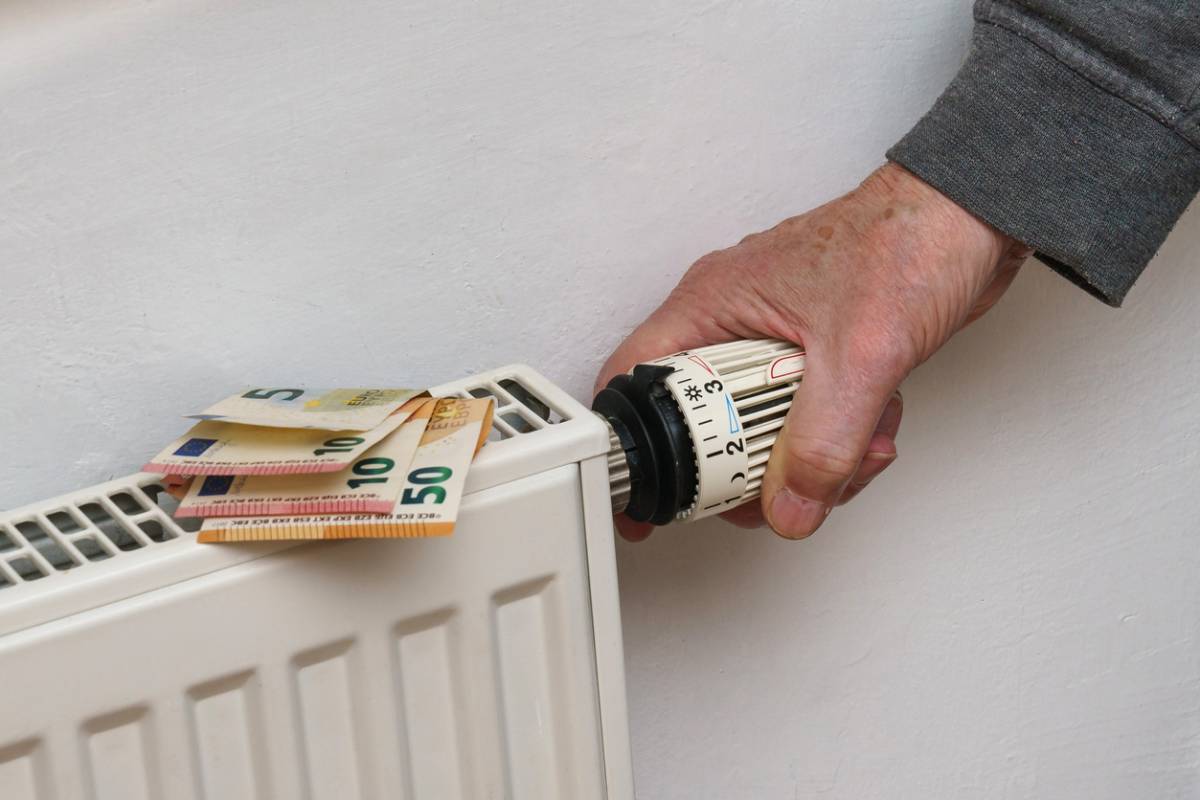
What elements influence the price of fuel oil?

Yucca with drooping, yellow, dry, brown leaves at the end or that loses its leaves: what to do?
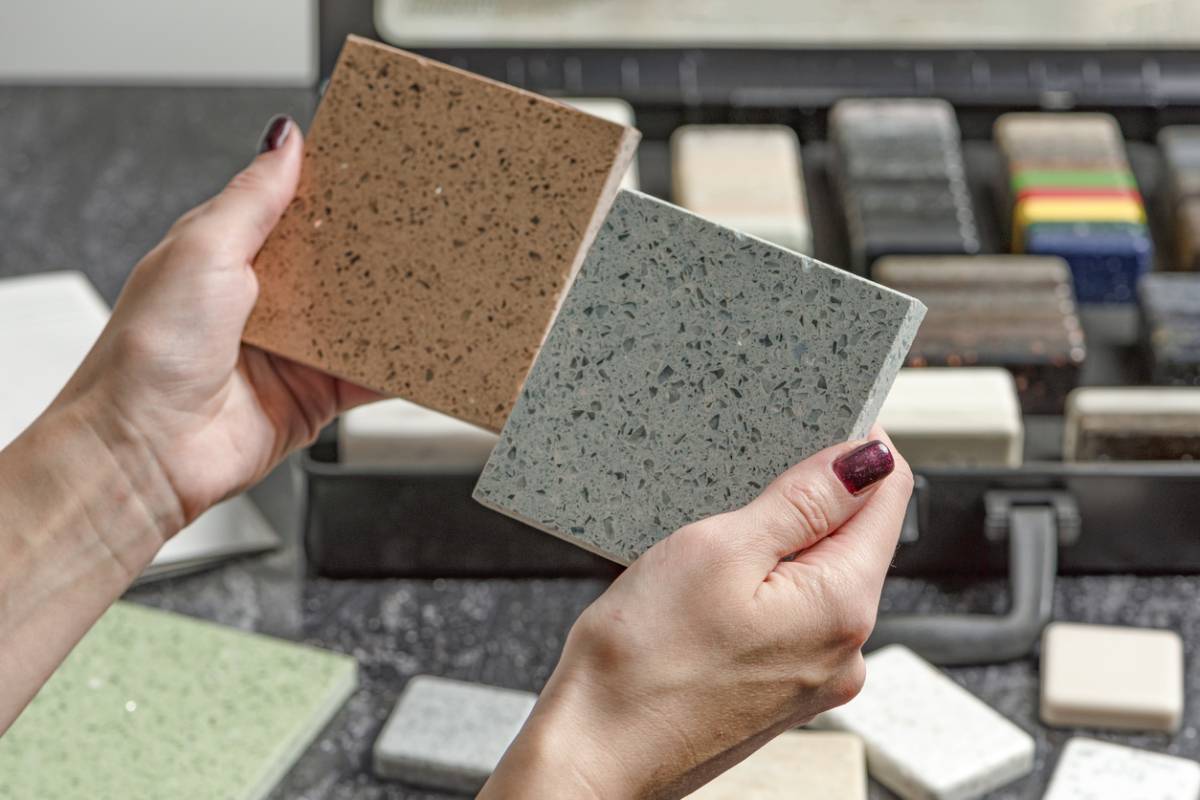
How to choose tiles that you will not tire

Debout, kitchen and dining table
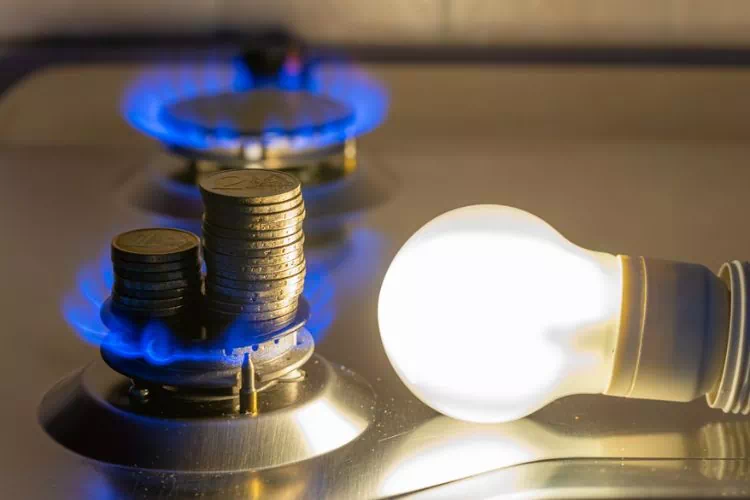
The advantages of combined electricity and gas offers

When and how to plant an avocado in a pot: maintenance, watering, exposure, repotting

5 ideas for arranging the basement of a house

How to choose a floor wash robot
